


Heavenly Hot Fudge
May 29, 2014 in Kitchen
Looking back on this month, there have been some really great days. One of my favorites was Mother’s Day.
Our Mother’s Day tradition at church is the. greatest. EVER.
Two words.
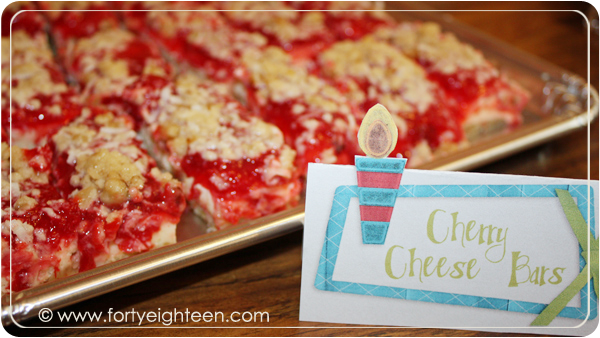
Cheesecake. Bar.

Nothing says Happy Mother’s Day quite like cheesecake with your choice of fabulous toppings, fruit, and time to visit with your friends while the men watch the kids.
Heavenly.
Since my husband is one of our local church leaders, I usually get to help put this event together — which I love. This year we decided on plain Costco cheesecakes (divine!) with all sorts of syrups, fruit, and candy toppings. Most of our toppings came from a can (gasp!), but I made some chocolate and caramel syrups that were to die for.
You can find the caramel syrup recipe HERE. We serve it over our Wheat Pancakes (which are delish), but it’s perfect for dessert, too.
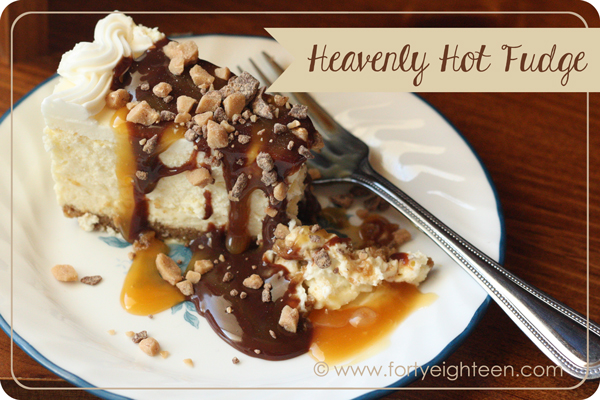
Today we’re all about the hot fudge. mmmmmmmm
This hot fudge is simple to make, only takes a few ingredients, and is absolutely fabulous on desserts. In fact, we just had ice cream with hot fudge yesterday, and I’m craving it again right now. yum

Heavenly Hot Fudge
- 1/2 c butter
- 1/3 c cocoa powder
- 2 c sugar
- 1 can evaporated milk
- 1 tsp vanilla
In a saucepan, melt the butter. Add the cocoa, sugar, and evaporated milk and stir to combine. Bring it to a boil and cook 4 minutes, stirring often. Remove from heat and add vanilla.
That’s it! Serve it over ice cream, cheesecake, or any dessert that needs a little extra yumminess.
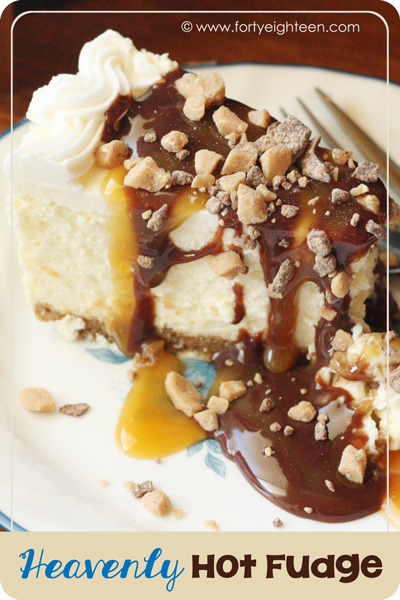

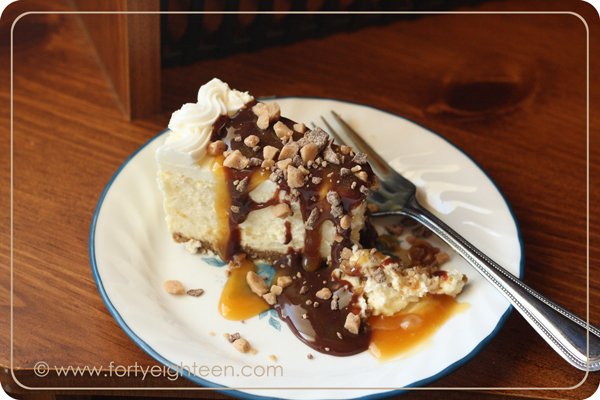
I highly recommend the Costco cheesecake with caramel syrup, hot fudge, toffee bits, and a few slices of strawberry. It’s ah. may. zing!
Looking back on this month, what was a highlight for you?