14 Fun Ways to Celebrate St. Patrick’s Day

March 7, 2015 in Family Room

14-stpatday


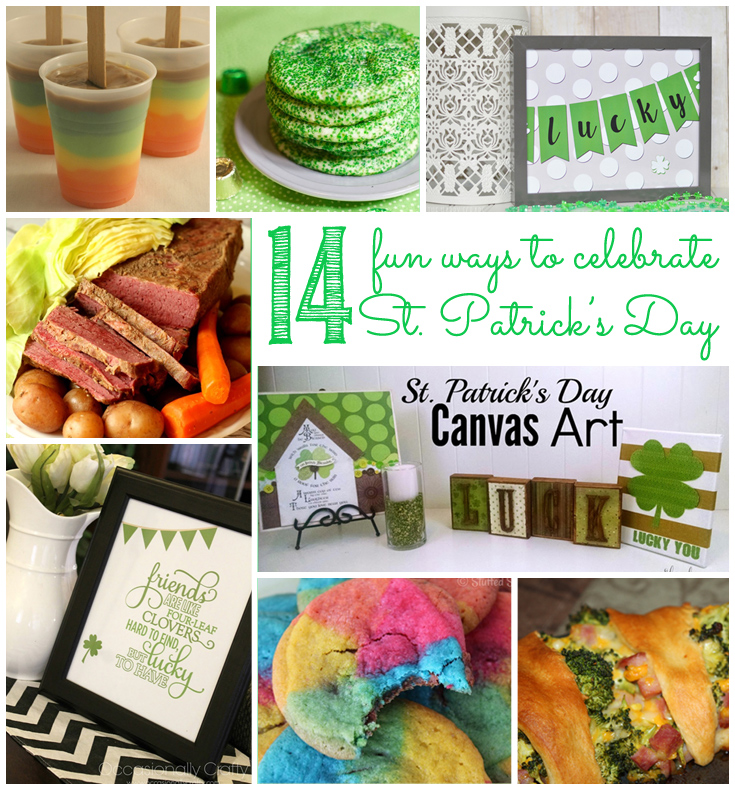
St. Patrick’s Day isn’t just for pinching your friends who forgot to wear green anymore. Now it’s the perfect excuse for a fun celebration. I love to keep things simple, so I gathered 14 simple celebrations for St. Patrick’s Day for a festive, easy holiday.

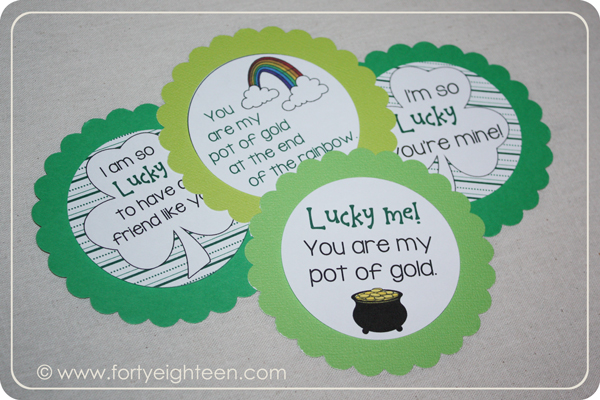
These  St. Patrick’s Day printables from Forty Eighteen are all ready for you to print and attach to your treats.

stpatsdayprint

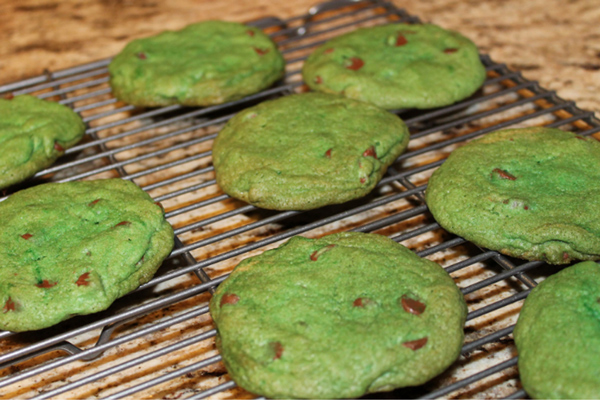
Jane from xo, lauren & jane does something fabulous with mint chocolate chips to make a green treat that is perfect for anyone who loves mint and chocolate. (And really… who doesn’t love mint and chocolate??)

stpatday1

Hoping to find a pot of gold at the end of the rainbow? How about inside the rainbow… if that rainbow is a cookie. These Rainbow Treasure Cookies from Stuffed Suitcase scream St. Patrick’s Day!

stpatsday2

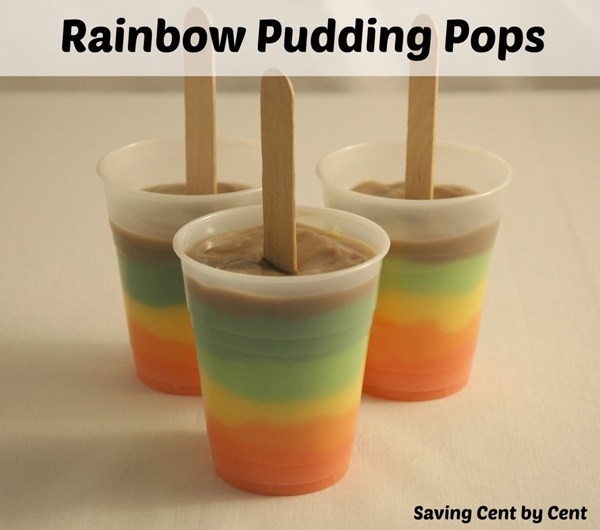
So colorful and so tasty, my kiddos would LOVE these! They wouldn’t even need to find the pot of gold with Rainbow Pudding Pops from Saving Cent by Cent as the tasty rainbow.

stpatday3

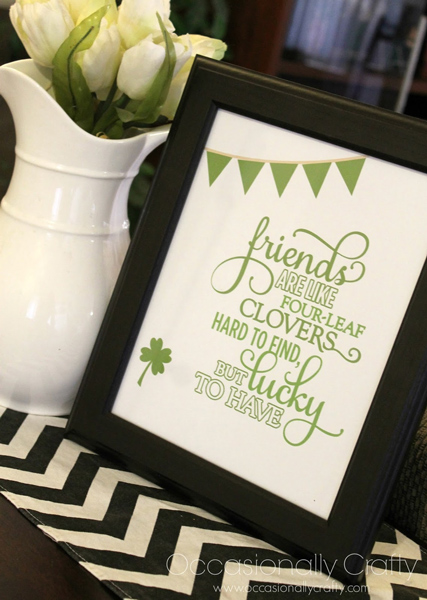
This is perfect! I love this St. Patrick’s Day printable from Occasionally Crafty.

stpatday4

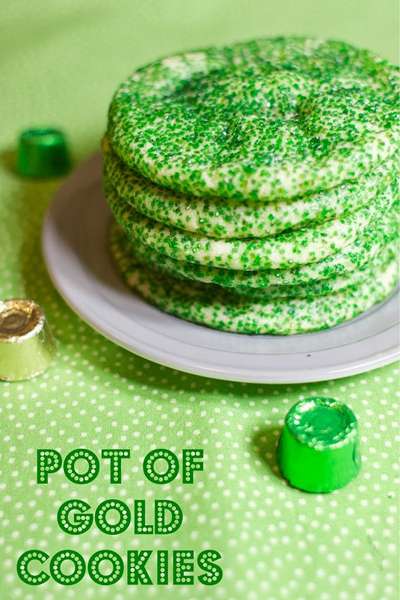
If you love sprinkles and tasty surprises, these Pot of Gold Cookies from A Sparkle of Genius are the perfect treat for you. I especially love the gold center… because it’s caramel. yummo!

stpatday5

Hahaha, Blushing Leprechauns. I love these great cookies from For What It’s Worth

stpatday6

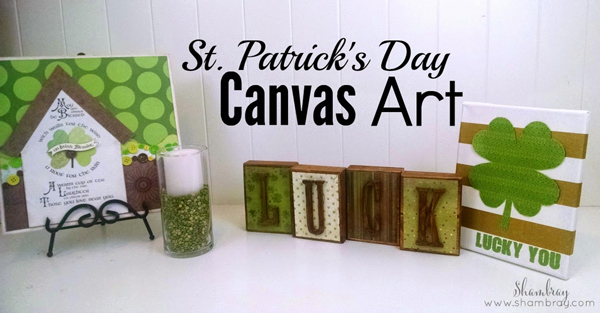
Cute, cute decor makes any holiday better. That’s why I love this St. Patrick’s Day Canvas Art from Shambray.

stpatday7

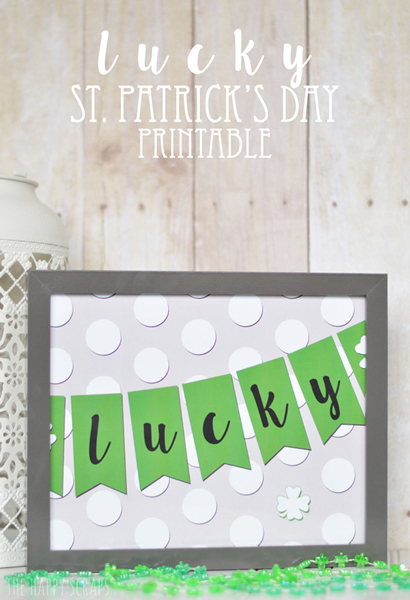
And this great Lucky St. Patrick’s day Printable from The Happy Scraps. I just love how a great printable makes an area instantly festive.

stpatday8

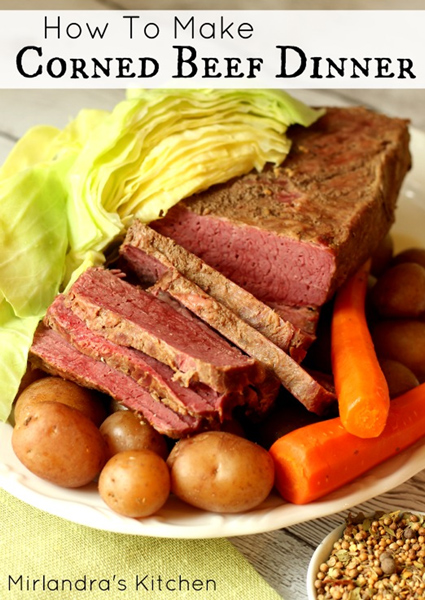
Learn how to make a traditional St. Patrick’s Day dinner: How to Make Corned Beef Dinner from Mirlandra’s Kitchen.

stpatday9

This Lucky Leprechaun Parfait from Jessica Weible Blogs is such an adorable treat! What more can you ask of a dessert than cute on the table and absolutely delicious in your mouth!

I love the idea of spreading some luck to a friend like this Bucket of Luck from Maybe I Will. Love her list of what to put in the basket and the free printable to attach to it.

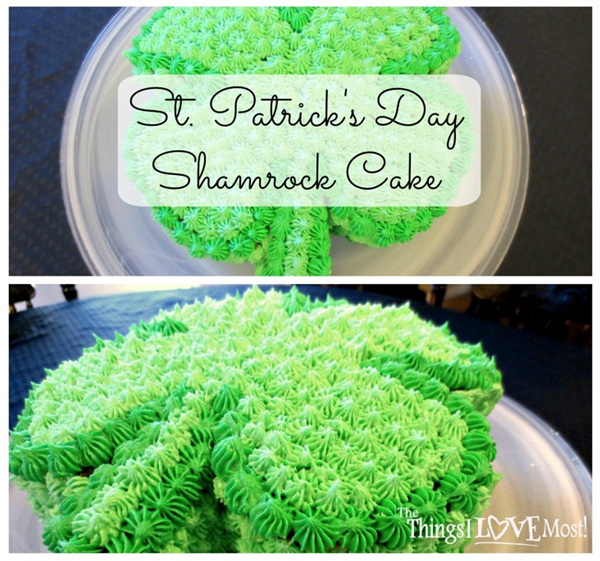
Make a great dessert with this template and directions for a St. Patrick’s Day Shamrock Cake from The Things I Love Most.

stpatday11

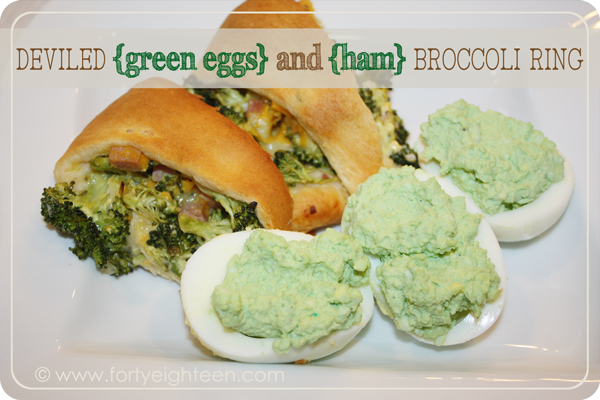
We always have a green dinner, and this Green Deviled Eggs and Broccoli Ham Ring from Forty Eighteen is in the running this year.

green-eggs-and-ham

How do you celebrate St. Patrick’s Day?

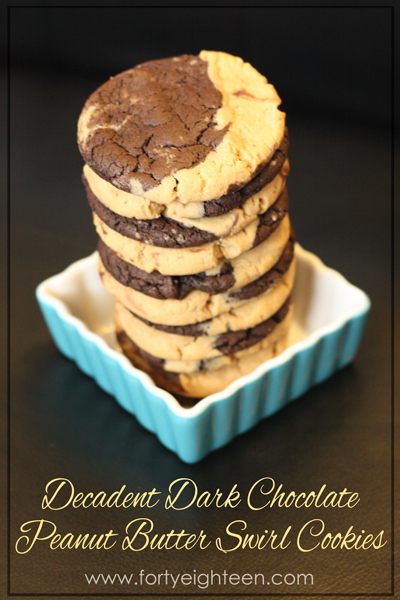
Decadent Dark Chocolate Peanut Butter Swirl Cookies

March 5, 2015 in Kitchen

My girls have been asking for chocolate even more than usual lately, and Joy’s latest favorite thing to do is make cookies. So naturally I decided it was time to find a new chocolate cookie recipe.

Pinterest to the rescue! I love finding the perfect Pinspiration.

I found two versions of a chocolate swirl cookie that got me really excited. I shared the chocolate chip cookie version on Made From Pinterest today.

Those Brownie Swirl Chocolate Chip Cookies are absolutely delicious, but peanut butter is my true love. So when I found these cookies at Sally’s Baking Addiction, I just knew I had found a new favorite.

chocpbswirl


And I couldn’t have been more right. Oh. my. goodness. These are to die for.

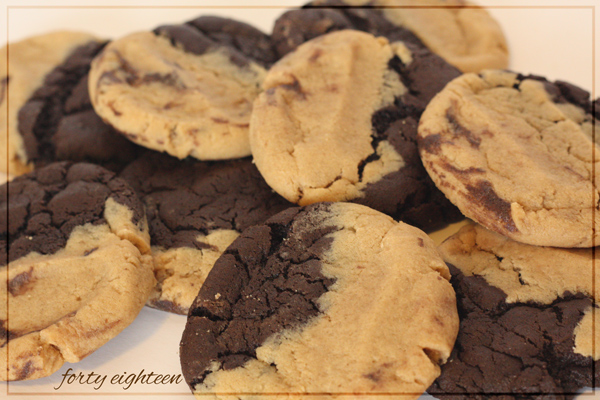
I was a little nervous about how much cocoa the recipe calls for. I don’t like dark chocolate, so I didn’t want them to be too dark. I started with a little less cocoa but ended up adding it all, and it turned out all my worries were for nothing. The chocolate isn’t dark and bitter, it is rich and decadent.

The peanut butter cookie calls for more peanut butter than a typical recipe, and oh my, it makes the peanut butter flavor even more intense. The combination of the rich chocolate with the intense peanut butter is pure heaven.

I’m not even going to admit how many cookies I have eaten today in the name of “testing” the recipe. I think we can safely say these passed the test with an A++.

chocpbswirl2

Decadent Dark Chocolate Peanut Butter Swirl Cookies

Chocolate Cookie Dough:

  • 1/2 cup unsalted butter, softened
  • 1/2 cup sugar
  • 1/2 cup brown sugar
  • 1 large egg
  • 1 teaspoon vanilla
  • 1 cup flour
  • 1/2 cup + 2 Tablespoons unsweetened cocoa powder
  • 1 teaspoon baking soda
  • 1/2 teaspoon salt
  • 2 Tablespoons milk

Peanut Butter Cookie Dough:

  • 1/2 cup unsalted butter, softened
  • 1/4 cup sugar
  • 1/2 cup brown sugar
  • 3/4 cup creamy peanut butter
  • 1 large egg
  • 1 teaspoon vanilla
  • 1 1/4 cups flour
  • 1/2 teaspoon baking soda
  • 1/4 teaspoon salt

Start with the chocolate cookie dough. Cream the butter and sugars together until light and fluffy. Then beat in the egg and vanilla until combined.

In a separate bowl, mix together the dry ingredients (flour, cocoa, baking soda, salt) and sift them together with a whisk. Add them gradually to the butter and sugar mixture until everything is combined. It will be very thick. Then add the milk, mix it in, and put the dough in the fridge to chill.

Now it’s time to move on to to the peanut butter cookie dough. It starts just the same. Cream the butter and sugars until light and fluffy, and then add the peanut butter, egg, and vanilla. In a separate bowl, mix the flour, baking soda, and salt and sift together with a whisk.

Gradually mix the flour mixture into the peanut butter mixture and mix until completely combined. Chill the dough in the fridge. It needs at least 2 hours, but I let mine chill overnight and it was great to work with the next day.

When the dough has been thoroughly chilled, it’s time to make the cookies. Preheat the oven to 350. I use a cookie scoop that measures about 1 tablespoon to make my cookies.

Scoop 12 chocolate dough balls onto a baking sheet, then scoop 12 peanut butter balls. Taking one chocolate and one peanut butter dough ball, press them together forming a ball. Repeat with all 12 cookies. The chocolate dough can be a mess, but chilling it really makes it easier to work with. Also, you can spray your hands with cooking spray if it’s proving to be a bit too messy.

Bake the cookies for 10-14 minutes. They will look like they’re not quite done, but you don’t want to bake them too long. Remove them from the oven and let them rest on the cookie sheet for a few minutes to keep cooking before you transfer them to a cooling rack.

I found they worked a lot better when I pressed down the dough balls, flattening them a bit before putting them in the oven.

These cookies are soft and delicious, and if you’re anything like me you may have a problem stopping at just one… or two… or four…

These Decadent Dark Chocolate Peanut Butter Swirl Cookies are the perfect answer to all of the chocolate cravings that happen often in a house full of girls. They are definitely a new favorite.

How do you satisfy a chocolate craving?

Crazy Good Caramel Popcorn

February 7, 2015 in Kitchen

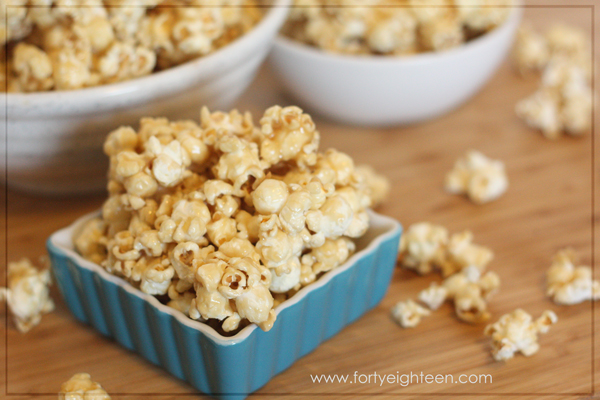
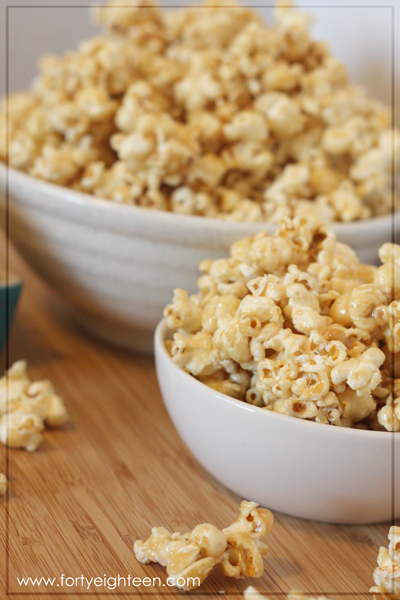
When it comes to caramel popcorn, I believe there are two camps: those who like it crunchy like Cracker Jacks and those who like it chewy – like heaven. If you love caramel popcorn the right way, this will be your new favorite recipe. It’s so good, so simple, so quick, and crazy good.

caramel-popcorn


 Crazy Good Caramel Popcorn

  • 1/2 cup (1 cube) butter
  • 1 cup brown sugar
  • 1/2 cup light corn syrup
  • 1/4 tsp salt
  • 1/2 tsp vanilla
  • 1/2 can sweetened condensed milk
  • popcorn

Start by popping the popcorn. I use 2 big bowls so I have enough room to stir the caramel over the corn. In fact, my favorite bowls for this are some big, red, plastic bowls I found at Walmart for $1.50.

To get the perfect amount of caramel to popcorn ratio, I use a little more than 3/4 cup but not a full cup of popcorn kernels. It’s a good idea to pull out the unpopped and half-popped kernels that can end up in your bowl. It’s no fun to bite into what should be a bite of chewy goodness and end up with a hard, tooth-breaking chunk instead.

caramel-popcorn-8

While the popcorn is popping, it’s time to make the caramel. Start by melting the butter in a large saucepan. When the butter is melted, add the brown sugar, corn syrup, and salt, and bring it to a boil. If you’re using salted popcorn, leave the salt out of the caramel.

Let it boil for 2-3 minutes, then take it off the heat and add the vanilla and half can of sweetened condensed milk. A can of sweetened condensed milk is 14 oz, so you will use a little less than 1 cup.

Put it back on the heat just long enough to heat it through. When it just barely starts to boil and you see little bubbles, take it off the heat for good because it’s done!

Immediately pour the caramel over the popcorn and stir with a long wooden spoon until the gooey caramel coats every piece of popcorn. When I’m done stirring, I combine it all into one big bowl and try to restrain myself from eating the entire thing myself.  That’s all there is to it!

caramel-popcorn-2

This recipe leaves you with an extra half of a can of sweetened condensed milk. You can make something fun like Brazilian lemonade or another great treat, but I usually use that half can as a perfect excuse to make another batch of caramel popcorn. Yum!

Tomorrow on Made From Pinterest, I’m sharing how I kicked this caramel popcorn up another notch by turning it into a fabulous Valentine’s Day treat, including free printables and a microwave popcorn Valentine, too! Click HERE or on the image below to find that post at Made From Pinterest.

popcorn-valentine-7

When it comes to caramel popcorn, which camp are you in? Crunchy or chewy little bites of heaven?

Toffee Cheesecake Bars

November 28, 2014 in Kitchen

Now that Thanksgiving is over, it’s time to think about Christmas treats! But before we get started let me remind you about The 12 Days of Christmas Wish Lists to help you find the perfect gifts for everyone on your list. Find the first day’s wish list HERE and follow the links to find the rest. I love finding the perfect gift for everyone I love.

Now on to the treats. Every Christmas when I was a kid, we would put together plates of treats to give the neighbors. I have fond memories of piling everyone into the car with our hands full of plates, running up to doors and delivering our favorite holiday treats.

christmas-plate

As soon as Steve and I had a family of our own, it seemed only right to carry on the tradition, but of course I couldn’t just fill the plates with the same things year after year. It’s too much fun to try new things and find new family favorites.

Toffee has been and always will be my favorite holiday treat. My dad makes it just like my grandma, and it’s a true labor of love as he singes his eyebrows getting it just right. After the almond-filled toffee sets up, he melts a huge Hershey bar over each side and sprinkles chopped almonds over the whole thing to finish it off. Mm, mmm. My absolute fave.

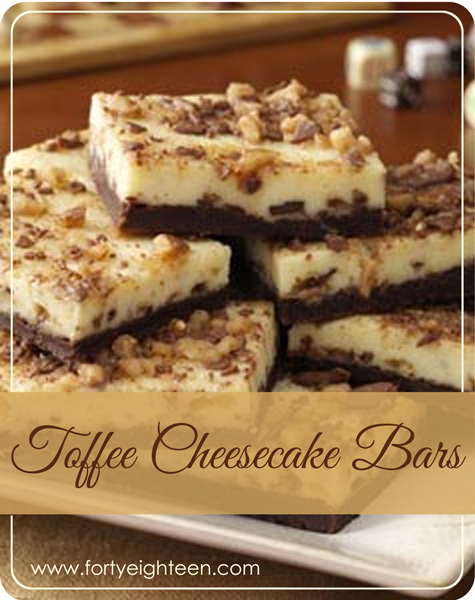
I always have to have some toffee at Christmas. I don’t live close enough to get some from my dad every Christmas, so on the years I decide to keep my eyebrows and don’t make my own I need another toffee fix. These Toffee Cheesecake bars are just the thing. Not only do I get my toffee fix, but… cheesecake.

Mmm, cheesecake.

toffee-cheesecake-bars


Toffee Cheesecake Bars

Crust:

  • 1 1/4 c flour
  • 1 c powdered sugar
  • 1/2 c cocoa
  • 1/4 tsp baking soda
  • 3/4 c butter

Filling:

  • 1 pkg (8 oz) cream cheese, softened
  • 1 can (14 oz) sweetened condensed milk
  • 2 eggs
  • 1 tsp vanilla
  • 1 pkg (8 oz) toffee bits, divided

Start with the crust. Combine the flour, powdered sugar, cocoa and baking soda. Cut in the butter until it gets crumbly. Press into a 9×13 baking pan. You don’t need to worry about greasing the pan because 3/4 c butter. Seriously. Toss that in the oven and bake at 350 for 15 minutes.

While your crust is cooking, it’s time to make the filling. In a bowl, beat the cream cheese until it’s fluffy. Then add the milk, eggs, and vanilla. Beat that all together until it’s smooth. Stir in 1 cup of the toffee bits and pour it all over the hot crust. Toss it back in the oven and bake for another 25 minutes, still at 350, until it’s set and the edges just begin to brown.

It’s starting to look amazing, right? Pull it out of the oven and let it cool for 15 minutes. Then sprinkle the rest of the toffee bits (1/2 c) evenly over the top. Let it cool completely and toss it in the fridge for a few hours until it’s cold. Then serve it up or slice it up for your neighbor treat plates.

This is a great treat to make ahead for parties since you can just keep it cold in the fridge and pull it out when you’re ready to wow your guests. And really, what could be better than cheesecake and toffee?? Yum!

What is your favorite Christmas treat? If you’re looking for some new ones to try, I have joined with some fabulous bloggers to share some Christmas goodness today. I see a few I definitely need to try this year. If you find a new favorite, let me know!


Chocolate-Dipped Mickey Treats

July 24, 2014 in Kitchen

I absolutely love summer vacation. Of course, I will be doing a happy dance on the first day of school… but I adore all of the time I get to spend with my little cuties all summer long.

Emily at Nap-time Creations has put together an amazing series all about Summer fun! Today I get to play along and share some fun I have had with my kiddos this summer.

My girls and I love playing in the kitchen together — especially when chocolate is involved! There are 6 girls living in this house. You can imagine how much chocolate we consume…

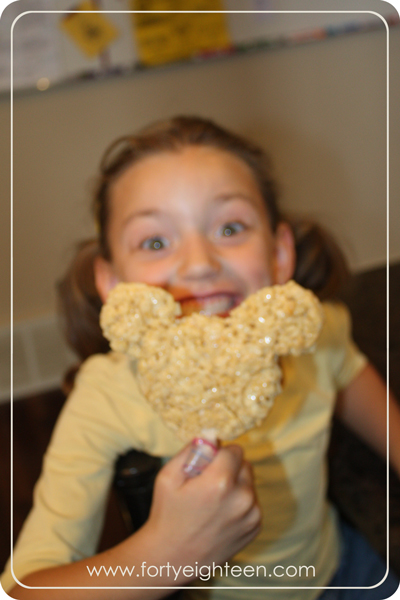
We also love all things Disney. So we decided to combine our love of Disney and our love of chocolate with this fun treat.

mickey-treats


So simple. So fun. So tasty.

Start by mixing up a batch of Rice Krispie Treats. My recipe looks a little something like this: melt a cube of butter, add a bag of marshmallows and mix until only a few lumps remain. Then add 9 cups of Rice Krispies and mix it up until it’s all nice and gooey. mmmmm…

Pour the treats into a pan. You’re going to want them pretty thin, so a cookie sheet or jelly roll pan is ideal. Normally I don’t worry about hills and valleys in my Rice Krispie Treats, but today we need them pretty flat. There’s probably a fancy tool for that, but I stick a sandwich bag on my hand, spray it with non-stick cooking spray, and flatten away with my magic non-stick glove. I’m fancy like that. I try not to pound them down too much so they’re still light and fluffy.

When you have the gooey mess all spread out, set them aside while they cool a bit. Now you’re going to need some cookie cutters, popsicle sticks, chocolate chips, oil, bowls, spoons, and wax paper.

I understand that not everyone is a Disney nut like me, so it’s okay if you would rather choose another shape for your treats. But there’s just something about a Mickey shape that makes things taste better. I mean, would you rather have boring old pancakes or Mickey pancakes? Mickey, amiright? Every time. Whatever shape you choose, you’re going to want deep cookie cutters that will let you cut all the way through the treats. We made big ones and small ones because we love variety, and these cookie cutters were perfect!

the small one and the big one (affiliate link).

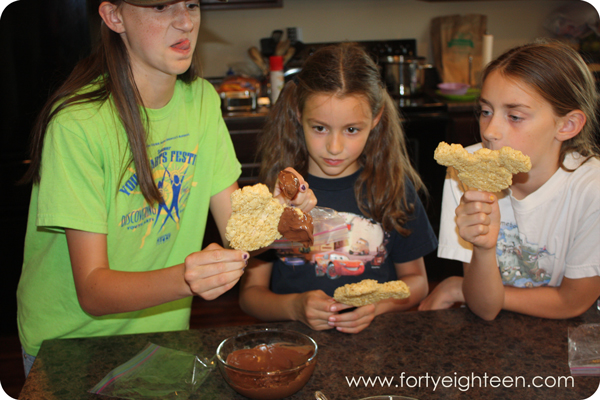
Now that you have your cookie cutters all ready to go, pull out that fabulous pan of Rice Krispie treats again and start cutting! We got through the whole pan and had a bunch of scraps left over. Since we did it when the treats were still warm (not burning… just warm), we were able to take those little pieces and smash them together in the cookie cutter to make even more shapes! We didn’t waste a single bit. Of course, we did eat a bunch of the little pieces, too…

Stick a popsicle stick into each treat. What is it about putting something on a stick that makes it seem like a party? My girls were ready to gobble these cute little guys up right there, but they were able to restrain themselves when I reminded them about the chocolate.
mickey2

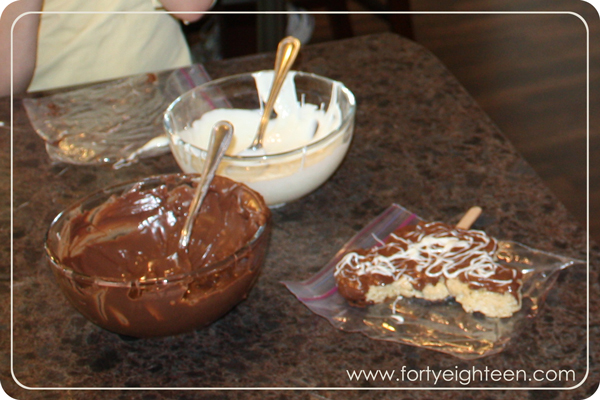
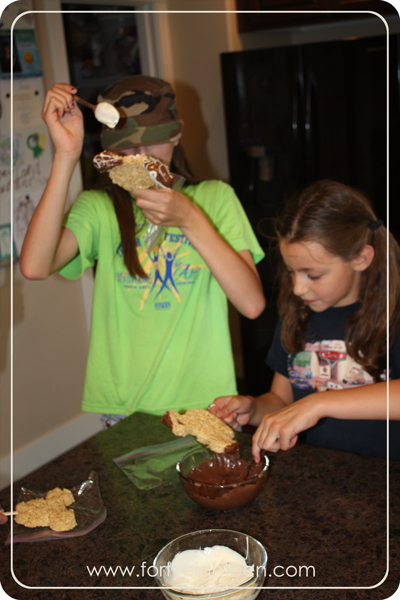
Mmmmm, chocolate. We used milk and white chocolate chips and melted each in a bowl in the microwave. You don’t want to burn your chocolate, so just zap it for 10-15 seconds at a time until it’s all melted. Then add a bit of oil to keep it soft. See where we’re going with this? The girls were bouncing with excitement by this time.
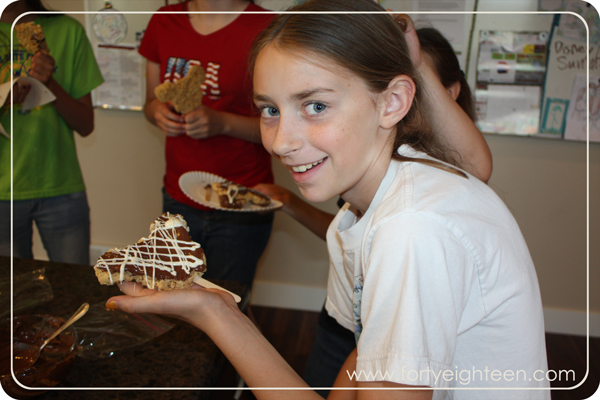
mickey7

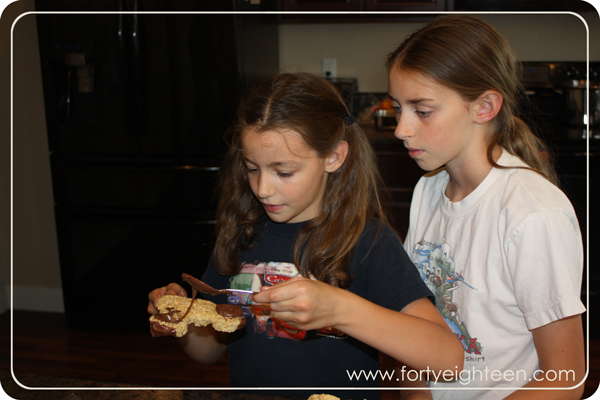
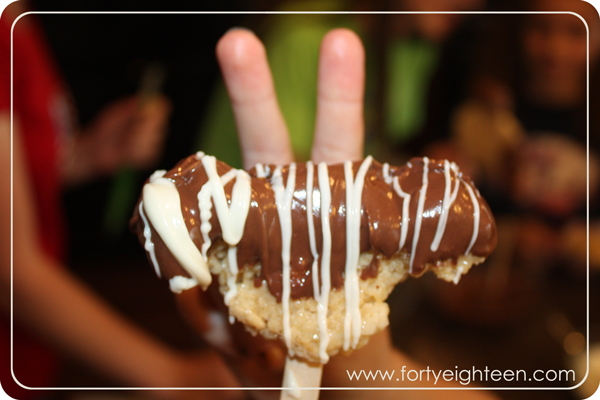
Grab a cute little Mickey treat on a stick and dip his ears in that chocolate. Drizzle the other chocolate over the top. Chocolate dipping was definitely everyone’s favorite part.

mickey3

It was serious business.

mickey5

Some of us had to be a little more exact with our ‘dipping.” Steve makes that exact same face.

mickey1

Actually, we had big bowls that weren’t very full of chocolate. We ended up painting our chocolate on with a spoon. It would have been a lot easier to dip with more chocolate in the bowl. I will definitely remember that for next time. Still yummy.

We loved milk chocolate ears with white chocolate drizzle. Sometimes we didn’t stop at the ears. Chocolate frosted Mickeys with drizzled white chocolate are divine!

mickey6

When Mickey’s ears are all decorated in chocolate, set them aside on wax paper until they’re cool enough to not burn your tongue… because seriously, why on earth would you wait any longer than that… and enjoy!

Share with someone you love.

mickey8

Or don’t.

mickey9


You could get even fancier with the decorations and add sprinkles, candy or nuts. What fun treats are you making with your kids this summer?

mickey4

Check out the rest of this week’s Summer Fun ideas: fun treats to eat while you read. Sounds like the perfect summer fun to me!!

summerfun part 8

Chocolate Dipped Mickey Treats from Forty Eighteen- yum!

My Overstuffed Life is sharing How to Host a Summer Book Club for Kids- FUN!

And last be sure to check out this delicious Banana Strawberry Cream Pie at I Dig Pinterest.

Head over to Nap-Time Creations to see lots of other ideas for Summer Fun… like all of this amazing fun they had last week!
summer fun 7

Crochet Nautical Handbag by the Stitchin’ Mommy

Strawberry Shortcake by O Taste and See

Mini Greenhouse by Sugar Tart Crafts on Nap-Time Creations

You can even hop on over to Nap-Time Creations to enter TWO great giveaways! Good luck!!

Related Posts Plugin for WordPress, Blogger...