


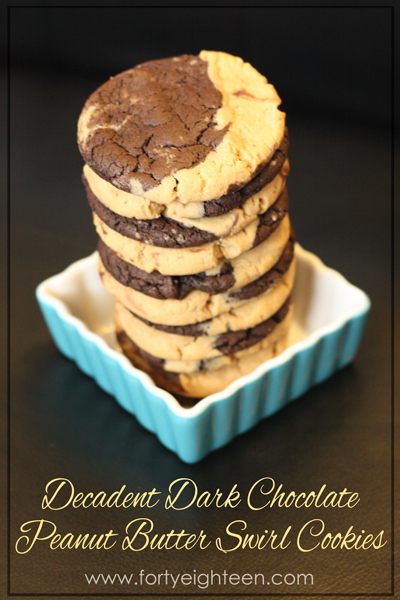
Decadent Dark Chocolate Peanut Butter Swirl Cookies
March 5, 2015 in Kitchen by Melanie
My girls have been asking for chocolate even more than usual lately, and Joy’s latest favorite thing to do is make cookies. So naturally I decided it was time to find a new chocolate cookie recipe.
Pinterest to the rescue! I love finding the perfect Pinspiration.
I found two versions of a chocolate swirl cookie that got me really excited. I shared the chocolate chip cookie version on Made From Pinterest today.
Those Brownie Swirl Chocolate Chip Cookies are absolutely delicious, but peanut butter is my true love. So when I found these cookies at Sally’s Baking Addiction, I just knew I had found a new favorite.

And I couldn’t have been more right. Oh. my. goodness. These are to die for.
I was a little nervous about how much cocoa the recipe calls for. I don’t like dark chocolate, so I didn’t want them to be too dark. I started with a little less cocoa but ended up adding it all, and it turned out all my worries were for nothing. The chocolate isn’t dark and bitter, it is rich and decadent.
The peanut butter cookie calls for more peanut butter than a typical recipe, and oh my, it makes the peanut butter flavor even more intense. The combination of the rich chocolate with the intense peanut butter is pure heaven.
I’m not even going to admit how many cookies I have eaten today in the name of “testing” the recipe. I think we can safely say these passed the test with an A++.
Decadent Dark Chocolate Peanut Butter Swirl Cookies
Chocolate Cookie Dough:
- 1/2 cup unsalted butter, softened
- 1/2 cup sugar
- 1/2 cup brown sugar
- 1 large egg
- 1 teaspoon vanilla
- 1 cup flour
- 1/2 cup + 2 Tablespoons unsweetened cocoa powder
- 1 teaspoon baking soda
- 1/2 teaspoon salt
- 2 Tablespoons milk
Peanut Butter Cookie Dough:
- 1/2 cup unsalted butter, softened
- 1/4 cup sugar
- 1/2 cup brown sugar
- 3/4 cup creamy peanut butter
- 1 large egg
- 1 teaspoon vanilla
- 1 1/4 cups flour
- 1/2 teaspoon baking soda
- 1/4 teaspoon salt
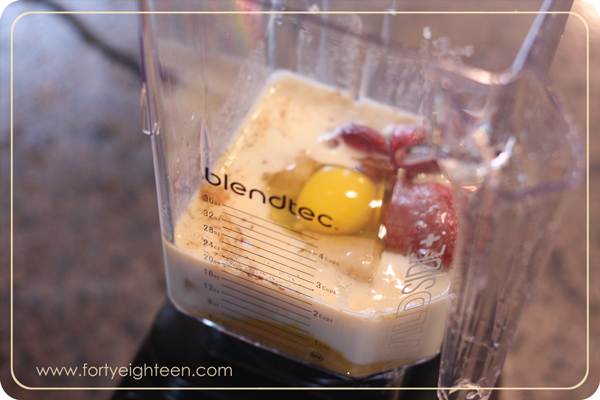
Start with the chocolate cookie dough. Cream the butter and sugars together until light and fluffy. Then beat in the egg and vanilla until combined.
In a separate bowl, mix together the dry ingredients (flour, cocoa, baking soda, salt) and sift them together with a whisk. Add them gradually to the butter and sugar mixture until everything is combined. It will be very thick. Then add the milk, mix it in, and put the dough in the fridge to chill.
Now it’s time to move on to to the peanut butter cookie dough. It starts just the same. Cream the butter and sugars until light and fluffy, and then add the peanut butter, egg, and vanilla. In a separate bowl, mix the flour, baking soda, and salt and sift together with a whisk.
Gradually mix the flour mixture into the peanut butter mixture and mix until completely combined. Chill the dough in the fridge. It needs at least 2 hours, but I let mine chill overnight and it was great to work with the next day.
When the dough has been thoroughly chilled, it’s time to make the cookies. Preheat the oven to 350. I use a cookie scoop that measures about 1 tablespoon to make my cookies.
Scoop 12 chocolate dough balls onto a baking sheet, then scoop 12 peanut butter balls. Taking one chocolate and one peanut butter dough ball, press them together forming a ball. Repeat with all 12 cookies. The chocolate dough can be a mess, but chilling it really makes it easier to work with. Also, you can spray your hands with cooking spray if it’s proving to be a bit too messy.
Bake the cookies for 10-14 minutes. They will look like they’re not quite done, but you don’t want to bake them too long. Remove them from the oven and let them rest on the cookie sheet for a few minutes to keep cooking before you transfer them to a cooling rack.
I found they worked a lot better when I pressed down the dough balls, flattening them a bit before putting them in the oven.
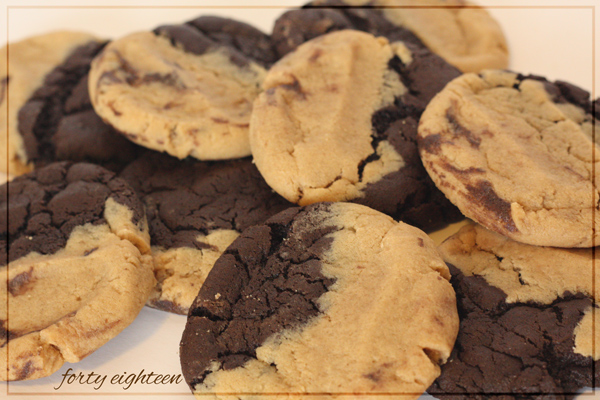
These cookies are soft and delicious, and if you’re anything like me you may have a problem stopping at just one… or two… or four…
These Decadent Dark Chocolate Peanut Butter Swirl Cookies are the perfect answer to all of the chocolate cravings that happen often in a house full of girls. They are definitely a new favorite.
How do you satisfy a chocolate craving?