by Melanie

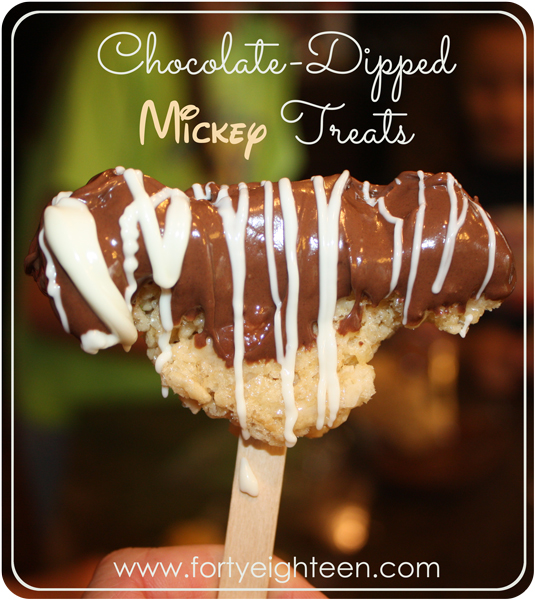
Chocolate-Dipped Mickey Treats

July 24, 2014 in Kitchen by Melanie

I absolutely love summer vacation. Of course, I will be doing a happy dance on the first day of school… but I adore all of the time I get to spend with my little cuties all summer long.

Emily at Nap-time Creations has put together an amazing series all about Summer fun! Today I get to play along and share some fun I have had with my kiddos this summer.

My girls and I love playing in the kitchen together — especially when chocolate is involved! There are 6 girls living in this house. You can imagine how much chocolate we consume…

We also love all things Disney. So we decided to combine our love of Disney and our love of chocolate with this fun treat.

mickey-treats


So simple. So fun. So tasty.

Start by mixing up a batch of Rice Krispie Treats. My recipe looks a little something like this: melt a cube of butter, add a bag of marshmallows and mix until only a few lumps remain. Then add 9 cups of Rice Krispies and mix it up until it’s all nice and gooey. mmmmm…

Pour the treats into a pan. You’re going to want them pretty thin, so a cookie sheet or jelly roll pan is ideal. Normally I don’t worry about hills and valleys in my Rice Krispie Treats, but today we need them pretty flat. There’s probably a fancy tool for that, but I stick a sandwich bag on my hand, spray it with non-stick cooking spray, and flatten away with my magic non-stick glove. I’m fancy like that. I try not to pound them down too much so they’re still light and fluffy.

When you have the gooey mess all spread out, set them aside while they cool a bit. Now you’re going to need some cookie cutters, popsicle sticks, chocolate chips, oil, bowls, spoons, and wax paper.

I understand that not everyone is a Disney nut like me, so it’s okay if you would rather choose another shape for your treats. But there’s just something about a Mickey shape that makes things taste better. I mean, would you rather have boring old pancakes or Mickey pancakes? Mickey, amiright? Every time. Whatever shape you choose, you’re going to want deep cookie cutters that will let you cut all the way through the treats. We made big ones and small ones because we love variety, and these cookie cutters were perfect!

the small one and the big one (affiliate link).

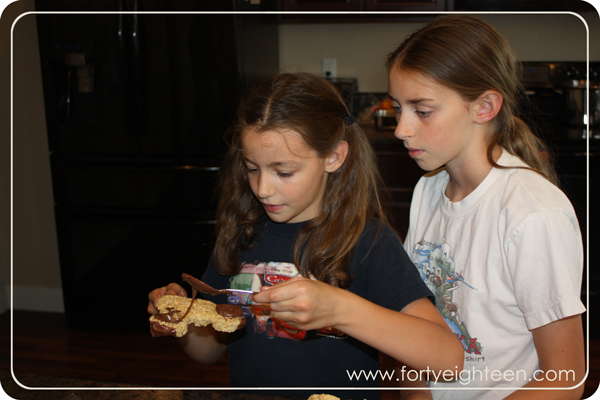
Now that you have your cookie cutters all ready to go, pull out that fabulous pan of Rice Krispie treats again and start cutting! We got through the whole pan and had a bunch of scraps left over. Since we did it when the treats were still warm (not burning… just warm), we were able to take those little pieces and smash them together in the cookie cutter to make even more shapes! We didn’t waste a single bit. Of course, we did eat a bunch of the little pieces, too…

Stick a popsicle stick into each treat. What is it about putting something on a stick that makes it seem like a party? My girls were ready to gobble these cute little guys up right there, but they were able to restrain themselves when I reminded them about the chocolate.

mickey2

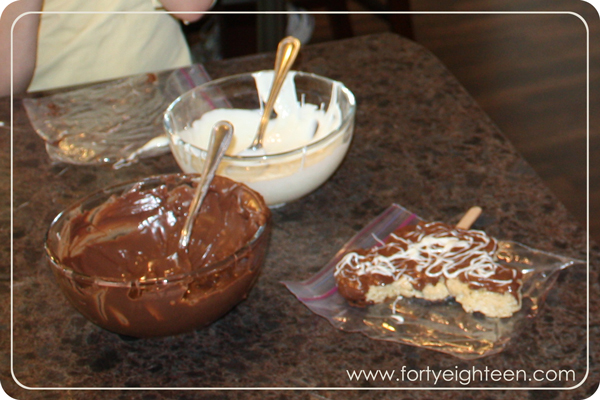
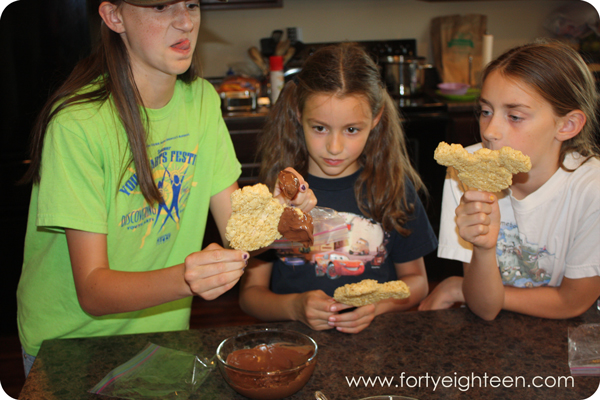
Mmmmm, chocolate. We used milk and white chocolate chips and melted each in a bowl in the microwave. You don’t want to burn your chocolate, so just zap it for 10-15 seconds at a time until it’s all melted. Then add a bit of oil to keep it soft. See where we’re going with this? The girls were bouncing with excitement by this time.

mickey7

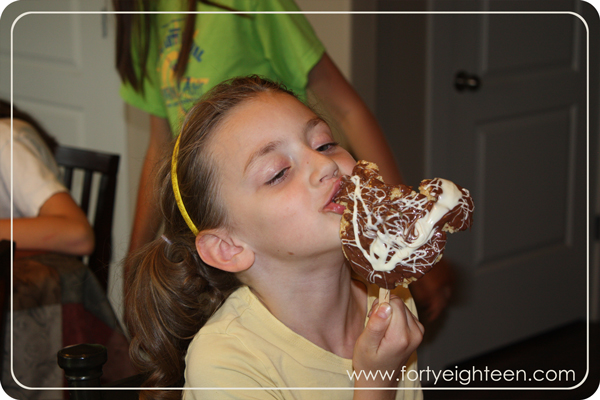
Grab a cute little Mickey treat on a stick and dip his ears in that chocolate. Drizzle the other chocolate over the top. Chocolate dipping was definitely everyone’s favorite part.

mickey3

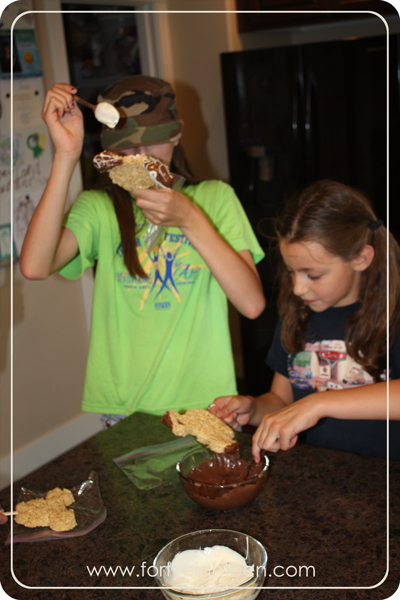
It was serious business.

mickey5

Some of us had to be a little more exact with our ‘dipping.” Steve makes that exact same face.

mickey1

Actually, we had big bowls that weren’t very full of chocolate. We ended up painting our chocolate on with a spoon. It would have been a lot easier to dip with more chocolate in the bowl. I will definitely remember that for next time. Still yummy.

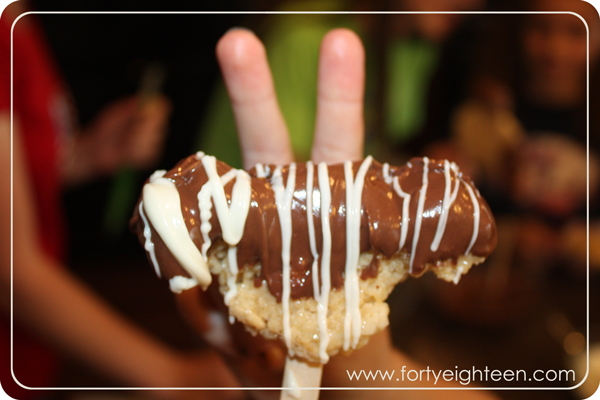
We loved milk chocolate ears with white chocolate drizzle. Sometimes we didn’t stop at the ears. Chocolate frosted Mickeys with drizzled white chocolate are divine!

mickey6

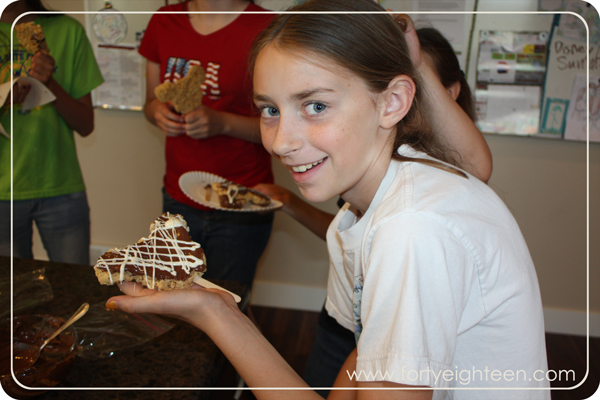
When Mickey’s ears are all decorated in chocolate, set them aside on wax paper until they’re cool enough to not burn your tongue… because seriously, why on earth would you wait any longer than that… and enjoy!

Share with someone you love.
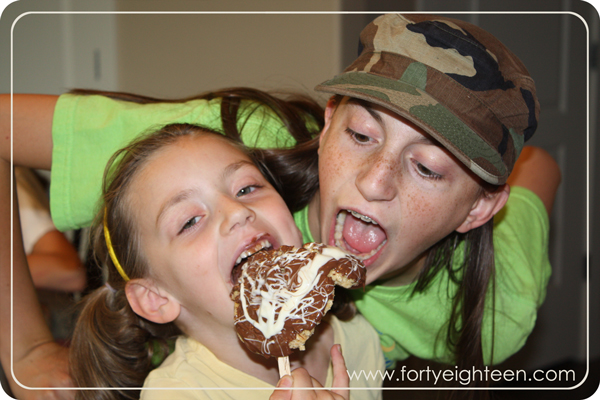
mickey8

Or don’t.

mickey9


You could get even fancier with the decorations and add sprinkles, candy or nuts. What fun treats are you making with your kids this summer?

mickey4

Check out the rest of this week’s Summer Fun ideas: fun treats to eat while you read. Sounds like the perfect summer fun to me!!

summerfun part 8

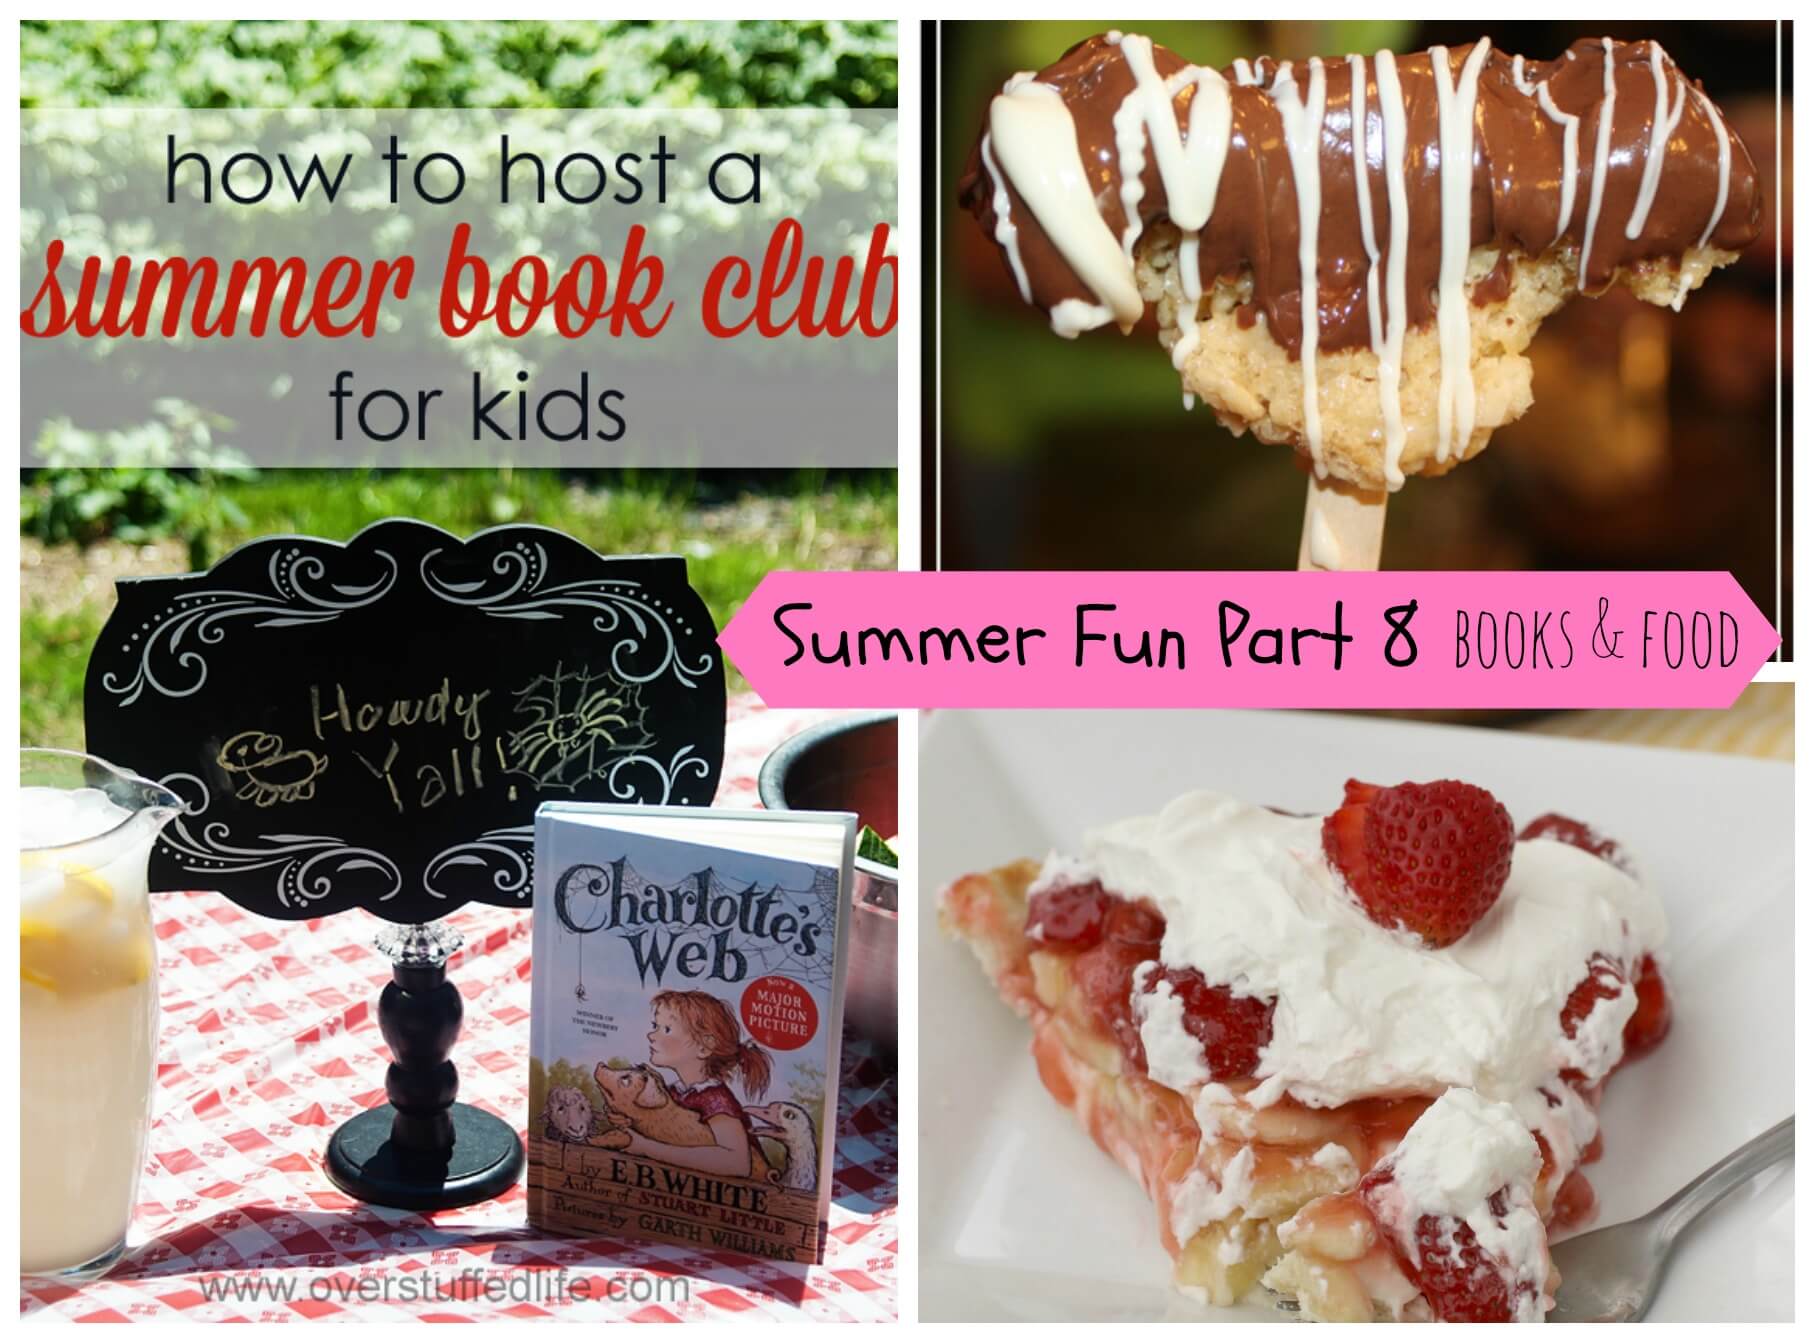
Chocolate Dipped Mickey Treats from Forty Eighteen- yum!

My Overstuffed Life is sharing How to Host a Summer Book Club for Kids- FUN!

And last be sure to check out this delicious Banana Strawberry Cream Pie at I Dig Pinterest.

Head over to Nap-Time Creations to see lots of other ideas for Summer Fun… like all of this amazing fun they had last week!
summer fun 7

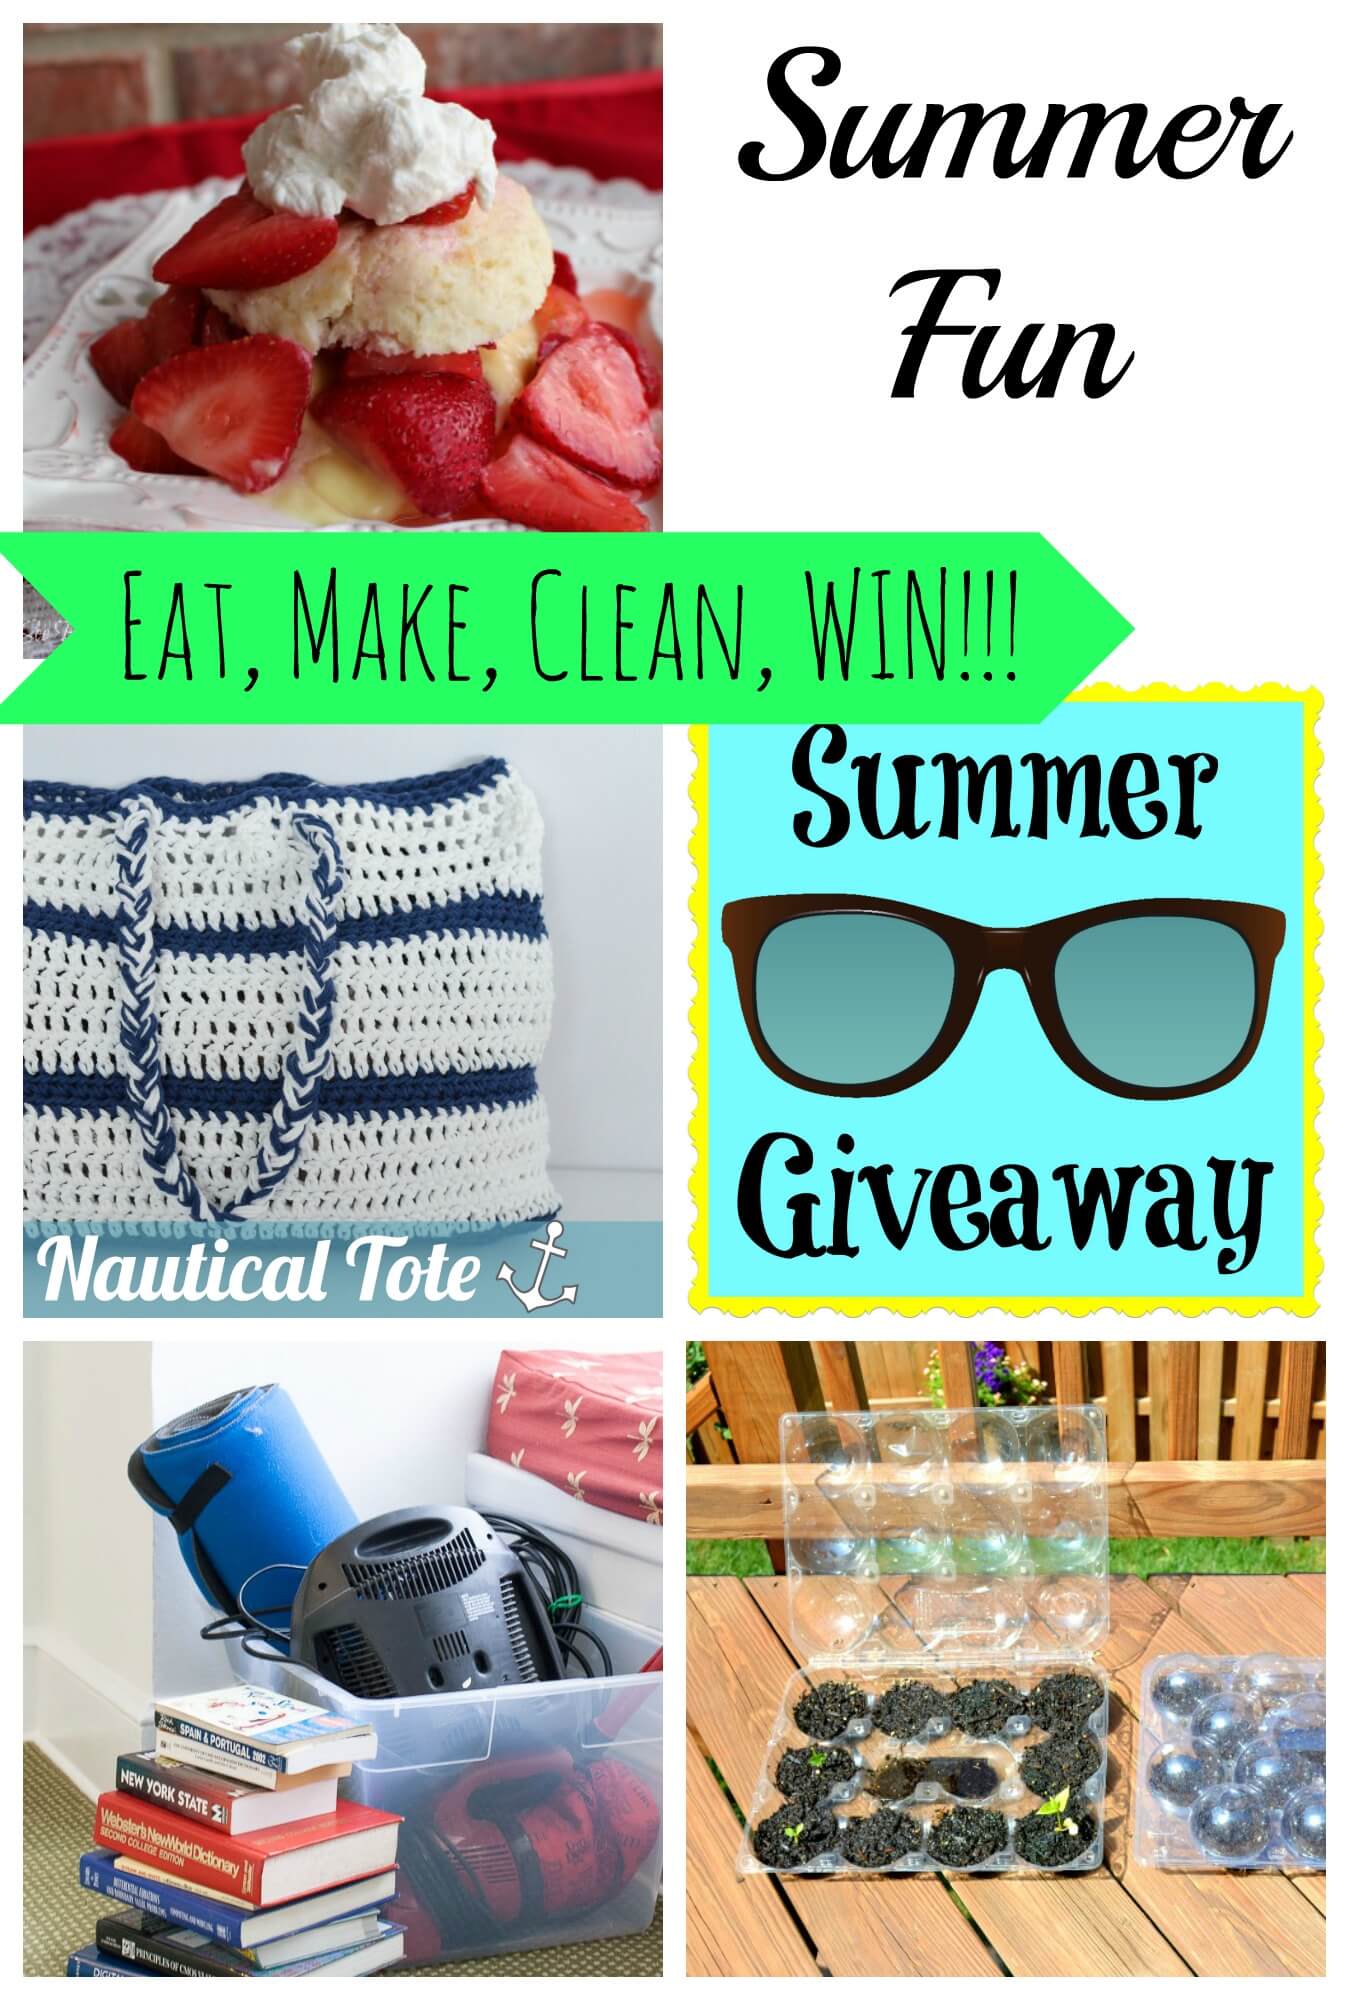
Crochet Nautical Handbag by the Stitchin’ Mommy

Strawberry Shortcake by O Taste and See

Mini Greenhouse by Sugar Tart Crafts on Nap-Time Creations

You can even hop on over to Nap-Time Creations to enter TWO great giveaways! Good luck!!

by Melanie

Teaching Primary Music: Seek the Lord Early

July 23, 2014 in Family Room by Melanie

We’re getting ready to go camping, so this is going to be short and sweet.

If you’re following along with the sharing time outline, you’re probably teaching Seek the Lord Early in August. I was asked to start teaching this song to our primary kids a few weeks ago, so I put together these cute little visuals to help.

seek-the-lord-early


I cut each page in half so each picture represents a phrase  and put them up on the board. As we learned it, I had the kids take down a sign or two at a time until they could sing it without any help. Senior learned the whole thing in a day, and we covered about half with junior. Of course, I’m not sure how much they actually remembered when the real chorister was back the next week…

Find the files to download at this link.

by Melanie

Teaching Primary Music: To Be A Pioneer

July 19, 2014 in Family Room by Melanie

If you’re looking for some help with primary music time tomorrow (could this be any more last minute???) and want to teach a great pioneer song, let me be your lifesaver.

To Be A Pioneer teaches a great lesson about what it means to be a pioneer – and it’s simple enough to teach in one try! It might take a little longer to sing the two parts together, but it’s so fun and the kids love it.

2Bapioneer


The first verse is full of “You don’t have to…” things that the old-time pioneers did. Since they’re “don’ts,” those are all shaped like stop signs.

The second verse is full of “You do have to…” things that we can do today to be pioneers. Since they’re “do’s,” those are all shaped like green lights. The picture cues for the second verse gave me a great chance to talk about Nephi’s courage, Daniels’ faith, and David’s fight with might for a cause that’s right.

Each verse ends with “To be a pioneer,” so there are 2 identical signs for that.

I thought I would only have time to teach the second part to senior, so I just wrote out the words for them. The last line is only sung the first time through, so it’s a little lighter to remind them it’s different.

I cut these out, laminated them (because I am completely addicted to my laminator), and stuck them to craft sticks. Simple to make, great to work with, and easy for the kids to help hold.

Find the files to download at this link. Happy singing!

by Melanie

Cinnamon Roll Bread {fail}

July 3, 2014 in Kitchen by Melanie

Once upon a time I was going to be the coolest mom ever with a special treat ready for the kids when they got home from school. Naturally I turned to Pinterest and found a fabulous picture of a recipe that sounded amazing.

Cinnamon Roll Bread… is that a thing? I love cinnamon rolls. I love bread. I happened to have all of the ingredients. Bingo!

I whipped it together, and in no time it was in the oven. Suddenly my house smelled like heaven.

I mean, I’ve never actually been there, but I’m pretty sure heaven will smell something like Cinnamon Roll Bread. Oh. my.

I pulled it out of the oven, made the glaze, (cinnamon rolls need to be glazed, of course, even in bread form) and found a serving tray for it. It’s supposed to be a special treat, after all, so it needs a special presentation.

The girls got home from school and did that thing where you sniff really hard, trying to figure out what that ah.may.zing. smell is. Their faces lit up when they saw the special treat on the table. We sat down to enjoy it together and talk about the day. It was just like an after-school special.

One by one, we each tried the treat and our faces fell. You know that look where you really want to enjoy something — and you’re trying, but it’s just not good??? Well, imagine that times six and you know exactly what this scene looked like.

My girls are great at trying whatever I serve and thanking me for the effort even when it’s disgusting. They all loved this whole after-school special moment and were trying to not ruin it, but eventually we all busted out laughing. This heavenly-smelling bread had to be the most horrible thing we had eaten in awhile.

I was so bummed. My after-school special moment was ruined by a tricky treat that sounded perfect, smelled amazing, and tasted awful.

My very own Pinterest FAIL.

Cinnamon Roll Bread: smells like heaven, tastes like dirty socks

cinnamon-roll-bread

Have you had a Pinterest FAIL?

by Melanie

Blueberries with a Side of Sunshine

July 2, 2014 in Kitchen by Melanie

Welcome to the Foodie Extravaganza!  
We are a group of bloggers who love to blog about food!  And each month we all incorporate one main ingredient into a recipe.  This month the ingredient is blueberries.

I have a confession to make.

I don’t love blueberries.

In fact, of all the berries I know, I only have those special true love feelings for strawberries. Truly, madly, deeply.

Raspberries? Meh. Blackberries? Blech! Blueberries? Sometimes maybe…

I pulled out a container of blueberries today, and my youngest asked if she could have one of those grapes. When I explained they were blueberries, she looked at me like I had grown an extra leg out of my head.

chuck-look

Apparently I never buy blueberries, which is a shame really, since Babs loves them. She was ridiculously excited about our little blueberry recipe experiment today.

You see, I joined up with a fabulous group of bloggers to share some amazing blueberry recipes, so I needed to get over my sometimes maybe feelings about blueberries and find a way to LOVE them. And I think this just might be it.

I am a HUGE fan of breakfast for dinner, so tonight I planned to enjoy scrambled eggs, sausage, fruit, and yogurt. I just needed a little somethin’-somethin’ to add that extra special touch this meal needed. And oh, did I find it!

Blueberry. Orange. Muffins.

Doesn’t that just sound like a little bite of sunshine?

These babies are a breeze to toss together. This recipe makes just the right amount so you’re not left with 47,812 muffins you need to get rid of. And if you want a great blend of a fun family of flavors, this is it.

blueberry-orange-muffins


Blueberry Orange Muffins

  • 1 3/4 c flour
  • 1/3 c sugar
  • 2 1/2 tsp baking powder
  • 1/2 tsp baking soda
  • 1/2 tsp salt
  • 1/2 tsp ground cinnamon
  • 3/4 c milk
  • 1 egg, slightly beaten
  • 1/4 c butter, melted and slightly cooled
  • 3 Tb orange juice concentrate, thawed
  • 1 tsp vanilla
  • 3/4 c fresh or frozen blueberries, thawed

Start by preheating your oven to 400. Then line your muffin pan with baking cups — or get a cute assistant to do it. Joy’s assigned dinner job tonight was chef, so she was my fabulous helper. This recipe makes 12, so you only need one standard muffin pan.

Now grab a pretty big bowl and mix up the dry ingredients. That’s the flour, sugar, baking powder, baking soda, salt, and cinnamon. Give it a good whisk and set it aside for a bit.

In a smaller bowl, mix the wet ingredients. That’s the milk, egg, butter, OJ concentrate, and vanilla. Mix these until well combined.

Now it’s time to pour the wets into the drys. Be careful not to over-mix these. You just want to mix until the dry ingredients are just moistened. It’s okay if it’s lumpy – that means you did it just right!

Now add those blueberries! Be sure to fold them in gently so you don’t end up with mashed up blueberries. Just mix them in until they look pretty evenly distributed so you don’t end up with some MAJOR berry muffins and some with only 1 lonely berry.

Fill the muffin cups about 3/4 full. Honestly, I don’t usually fill my muffin cups as full as I did with these babies, but it worked out perfectly! So don’t be afraid to fillerup.

muffins-full

Speaking of filling up muffin cups… Do you know the greatest way to do that without making a colossal mess? Cookie scoop! You’re welcome.

muffin-filler

Toss those puppies in the oven and bake for 20-25 minutes. If you used frozen berries, you’ll probably want to add another 5 minutes to the time. When they’re done, let them cool in the pan for a few minutes and then remove them to a wire rack. Serve them warm with plenty of butter. Yummmmmmm

blueberryorangemuffins


Want some more blueberry goodness in your life? Be sure to visit the rest of the fabulous #FoodieExtravaganza bloggers to see what they whipped up!

We hope you all enjoy our delicious blueberry foods this month and come see what next month’s new ingredient is.  If you would like to join our group and blog along with us, come join our Facebook page Foodie Extravaganza.  We would love to have you!

Make sure to check out these great recipes from our group! 
(You can click on the link to take you to that blogger’s recipe)

Blueberry Lemon Breakfast Cake @ We Like to Learn as We Go
Blueberry Banana Bread @ Pantry Friendly Cooking
Blueberry Orange Muffins @ Forty Eighteen
Homemade Blueberry Poptarts @ Our Thrifty Ideas
Blueberry Cheese Cake Pastries @ Summer Scraps
Lemon Blueberry Sandwich Cookies @ From Gate to Plate
Panna Cotta w/a Blueberry Compote @ The Freshman Cook
Strawberry Vanilla Blueberry Ice Cream @ Food Lust People Love
Blueberry Pie Ice Cream @ Love in the Kitchen
Lemon Blueberry Pound Cake @ Keep it Simple, Sweetie

What is your favorite way to eat berries?

Related Posts Plugin for WordPress, Blogger...